Showing posts with label Snack. Show all posts

Tuesday, April 10, 2012

Healthy Peanut Chikki/Peanut Brittle with AgaveNectar made in Microwave

I love peanuts but as a member of my family is allergic I never buy them.After many long years recently I bought a pack of peanuts just to make a delicious dish for the CWF-LB:Peanuts being hosted by Reshmi.Thank you Reshmi for guest hosting the CWF Event from Feb 10th - Apr10th.Here comes my delicious Peanut Chikki/Peanut Brittle for your event.

I am sure that this is the first time you are coming across a peanut chikki with agave nectar and it is definitely unique(you won't find it anywhere on the internet) and one of a kind with all the advantages of 1) being a healthy snack 2) has only two ingredients and is done in five minutes.

This chikki/brittle can be made very easily in a microwave and the only ingredients you need are peanuts and agave nectar.Let us see how this simple and healthy snack is made......................


Main Ingredients :
--------------------
Agave Nectar.....................................1/2 cup
Roasted Unsalted Peanuts...................1&1/4 cup
Butter/Ghee........................................2tsp

Procedure :
----------------
Place the agave nectar in a deep microwave safe bowl and cook it on high for 1 min.After the first minute take a spoon and stir the agave nectar and place the bowl back in the microwave.From now on cook the agave for 4minutes more but make sure that for every 30 sec you take the bowl out , stir it and put it back.


(Note : If you do not take the bowl out every 30sec the boiling agave will spill out of the bowl.So stop the microwave for every 30sec and stir the agave).

While the agave is boiling take a plate and coat it with ghee or butter and keep it aside.Get the roasted peanuts ready.


After total of 5min is done take a drop of the boiling agave and place it in a plate of cold water,the drop of agave nectar should be thick and should hold its shape.


Now carefully take the bowl of hot agave nectar out of the microwave and pour the peanuts into this bowl and coat them well with the agave nectar.


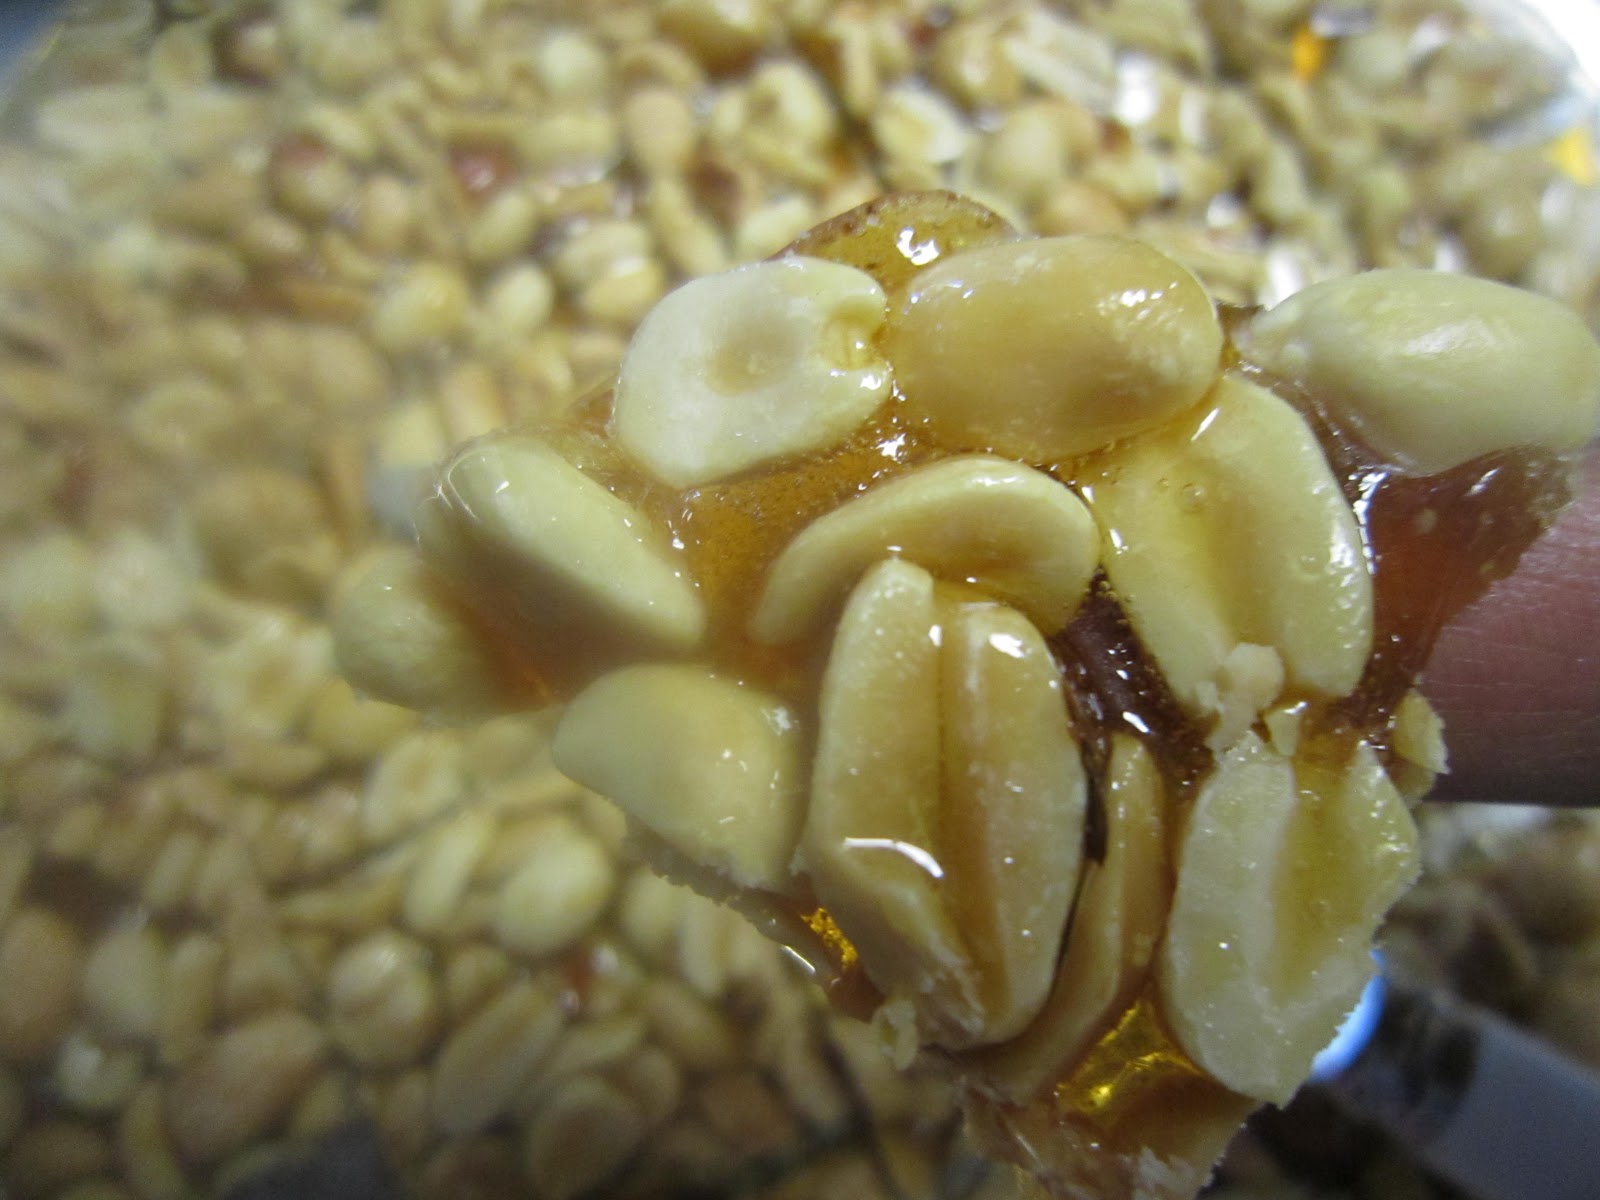
Now transfer the peanut-agave mixture to the butter coated plate and spread the mixture.Once the peanut-agave spread starts to cool down and the brittle starts to thicken cut the brittle in desired shapes and enjoy them.


Delicious and healthy Peanut Chikki is ready to be served.

Note:
-----------
1) This peanut brittle/chikki is very healthy as we are using only two ingredients....peanuts and agave nectar as sweetener.

2) This brittle has chewy texture.It is not very hard.

This Healthy Peanut Chikki is linked to the CWF-LB: Peanut Event being guest hosted by Reshmi of Rasoi.

This recipe is also being linked to MEC Event guest hosted by Nalini and started by Srivalli .

Wednesday, August 10, 2011

Cabbage-Amaranth-Carrot Pakora/Vegetable Fritters with MultiGrain Flours

This is a very kid friendly snack and is delicious and healthy to eat.All the ingredients in here are easily available and can be made in a jiffy.Generally, pakoras are made with besan/chickpea flour but we can make it more healthier and tastier by adding ragi flour,flax meal,rice flour,oats flour etc.In my recipe today I used besan flour,ragi flour and flax meal for binding the veggies.

Let us see how these delicious pakoras/fritters are made---------


Main Ingredients :
---------------------
Shredded Cabbage.................1 cup
Shredded Carrot.....................1/2 cup
Shredded Amaranth Greens.....1 cup(packed)
Besan/Chickpea Flour..............1/2 cup
Ragi Flour................................1/2 cup
Flax Meal................................1/4 cup

Seasoning Ingredients :
--------------------------
Saunf.................................1tsp
Coriander Seeds................1tsp
Turmeric............................1/4tsp
Paprika..............................1tsp
Salt....................................to taste
Oil.....................................for deep frying

Preparation :
---------------
Place all the cleaned and shredded veggies in a mixing bowl.


Add the besan flour,ragi flour and flax meal to the cut vegetables.


Now add the seasoning ingredients like saunf,coriander seeds,turmeric,paprika and salt to the bowl of veggies and flours.


Now mix all the ingredients in the bowl ,slowly with a clean hand till the veggies get coated well with the multi flours and spices.(I did not use any water as there was enough wetness in the vegetables,if needed slowly sprinkle a few drops of water at a time and coat the veggies with the flour.We do not want watery batter.)


Now get the oil heated up and slowly start adding the flour coated veggies to the hot oil and deep fry them.Once fried remove the pakoras/fritters from the oil and serve them with ketchup or sweet chutney or green chutney of your choice.


Delicious and healthy pakoras are ready to be served.


Note :
----------
1) I used frozen and thawed amaranth greens in the pakoras.So they had enough wetness in them to wet the grain flours.

2) These fritters did not soak in too much oil into them.So that is good.

3) I did not use any rising agents like baking soda to the pakora mix.

All in all this is a healthy snack.We enjoyed it and hope you would too.


This recipe goes to CWF-WG: Ragi/Finger Millet event guest hosted by Dennise.

Tuesday, June 15, 2010

Classic Original Pani Puri vs Modern Mini Pita Pockets with Spicy Flavored Water

This recipe has been waiting in my drafts for over 1 month now and finally seeing all the panipuri recipes in all the blogs has tempted me to post this experiment of mine.

I don't think there would be any Indian who wouldn't love PaniPuri .This is one of the most famous street foods in India.Loved and enjoyed by adults and kids equally any time of the day or night is this tasty stuffed puri with spiced pani/water.In my family too we all enjoy eating this delicious PaniPuri.

Once in a while we have this as a light dinner.A while ago we had it with the Original Crispy Semolina Puris and later we tried the same with Mini Pita Pockets.I was waiting to post this for some time now comparing both the versions .Finally, it is here--------

1) Classic/Original Pani Puri

For enjoying this original pani puri we need the following ingredients------------

For Puris :
--------------
Crispy Semolina Puris.............1pack(or as needed ,store bought)

For Stuffing :
-----------------
Boiled Potatoes.......................2(cubed)
Whole Moong.........................1cup(pressure cooked)
Yogurt.....................................1cup(seasoned with chaat masala,paprika and cilantro)
Green Cilanto Chutney.............1/2cup(homemade)
Tamarind Chutney....................1/2cup(store bought)

For Making Pani :
---------------------
Pani Puri Powder....................store bought ,follow pack directions for making pani and garnish the water with cilantro.


Preparation :
---------------
Take a puri and make a hole in it as in the picture.Stuff it with few pieces of boiled potato ,followed by a spoonful of  cooked moong followed by seasoned yogurt followed by a spoon of tamarind chutney followed by green chutney.You can eat this as is or dip this in the bowl of spicy pani and keep the whole pani puri in your mouth and enjoy all the flavors of the stuffing and the pani.Eating panipuri at one stretch is an art I should say.These panipuri's once you start eating you cannot stop eating.One person can eat atleast 10 to 15 of them or should I say any number of them!

We always enjoy this version of pani puri.After  coming across the mini pita pockets I always wanted to try using them in making the pani puri.Have been postponing to make it for a while and finally tried it few weeks ago.It was a new taste and surely a keeper recipe.This is how it goes------

2) Modern Mini Pita Pockets with Spicy Flavored Water

For Puris :
--------------
Whole Wheat Mini Pita Pockets.............1pack(or as needed ,store bought)

For Stuffing :
-----------------
Boondi....................................1cup(store bought)
Whole Moong.........................1cup(pressure cooked)
Tomato...................................1cup(finely diced)
Onion......................................1(finely diced)
Cilantro...................................finely chopped for garnish and pani
Mint........................................finely chopped for pani

For Making Pani :
---------------------
Pani Puri Powder....................store bought ,follow pack directions for making pani and garnish the water with finely chopped cilantro and mint leaves.


Preparation :
-------------------
For the regular panipuri you make a hole in the center and fill it,for the pita pocket too I tried it that way but coud not stuff it well.Then I opened the pockets from the side near the joint and filled it with cooked whole moong,tomato pieces,diced onion,little boondi and finally topped it with cilantro.First stuffed all the pitas and then dipped them in water and had them just like the regular panipuri.They tasted very nice and very filling.

I couldn't eat more than 5 stuffed pitas with spicy pani.We can't put the whole stuffed pita into the mouth,so we can eat it in two bites.It was very very filling.

Comparison of Both the Versions:
--------------------------------------
1) Well original panipuri is light and crispy and we can eat any number of them,pita is thick and soft and fills you after eating few.

2) Original panipuri is delicate,can't hold stuffing and water for long and breaks easily while pita pockets are strong,we can stuff all of them and then start eating .

3) Original panipuri is deep fried and pitapockets are baked.

Final Verdict :
-------------------
Chaats are always tasty in the original way but if we choose to eat more consciously there is always an alternative.Choice is ours.

This recipe goes to Bread Mania Event hosted by Chitra of Aathidyam .

This goes to Healing Foods : Onion Event hosted by Priya started by Siri .

Related Posts with Thumbnails

Copyright Policy

Unless otherwise noted, Sumadhura is the legal copyright holder of all the written material and pictures posted in this blog .The content here may not be used , reprinted or published without the written consent of the author. All the recipes posted here are made according to the tastes of my family and the measures used in the recipes here are approximate.